
If you’re a real estate agent, you know connecting with people is a top priority. Facebook allows agents to connect with over 2.45 billion users across the world. To get started, you need to set-up a Facebook Page for Real Estate Business. While connecting with your friends, family, and even clients through your personal profile page works fine, the only way to truly utilize Facebook’s tools and grow your audience is to create a Facebook Business Page to use for marketing and Facebook Ad campaigns. This article is going to take you through the very basics to get your Facebook Business Page up and running. We will go over Creating a Business Page, Adding a Profile and Cover Photo, Filling Out Your Information, and Customizing Your Template and Tabs. Ready to learn how to create a Facebook Business Page for Real Estate?
Step One: The Basics
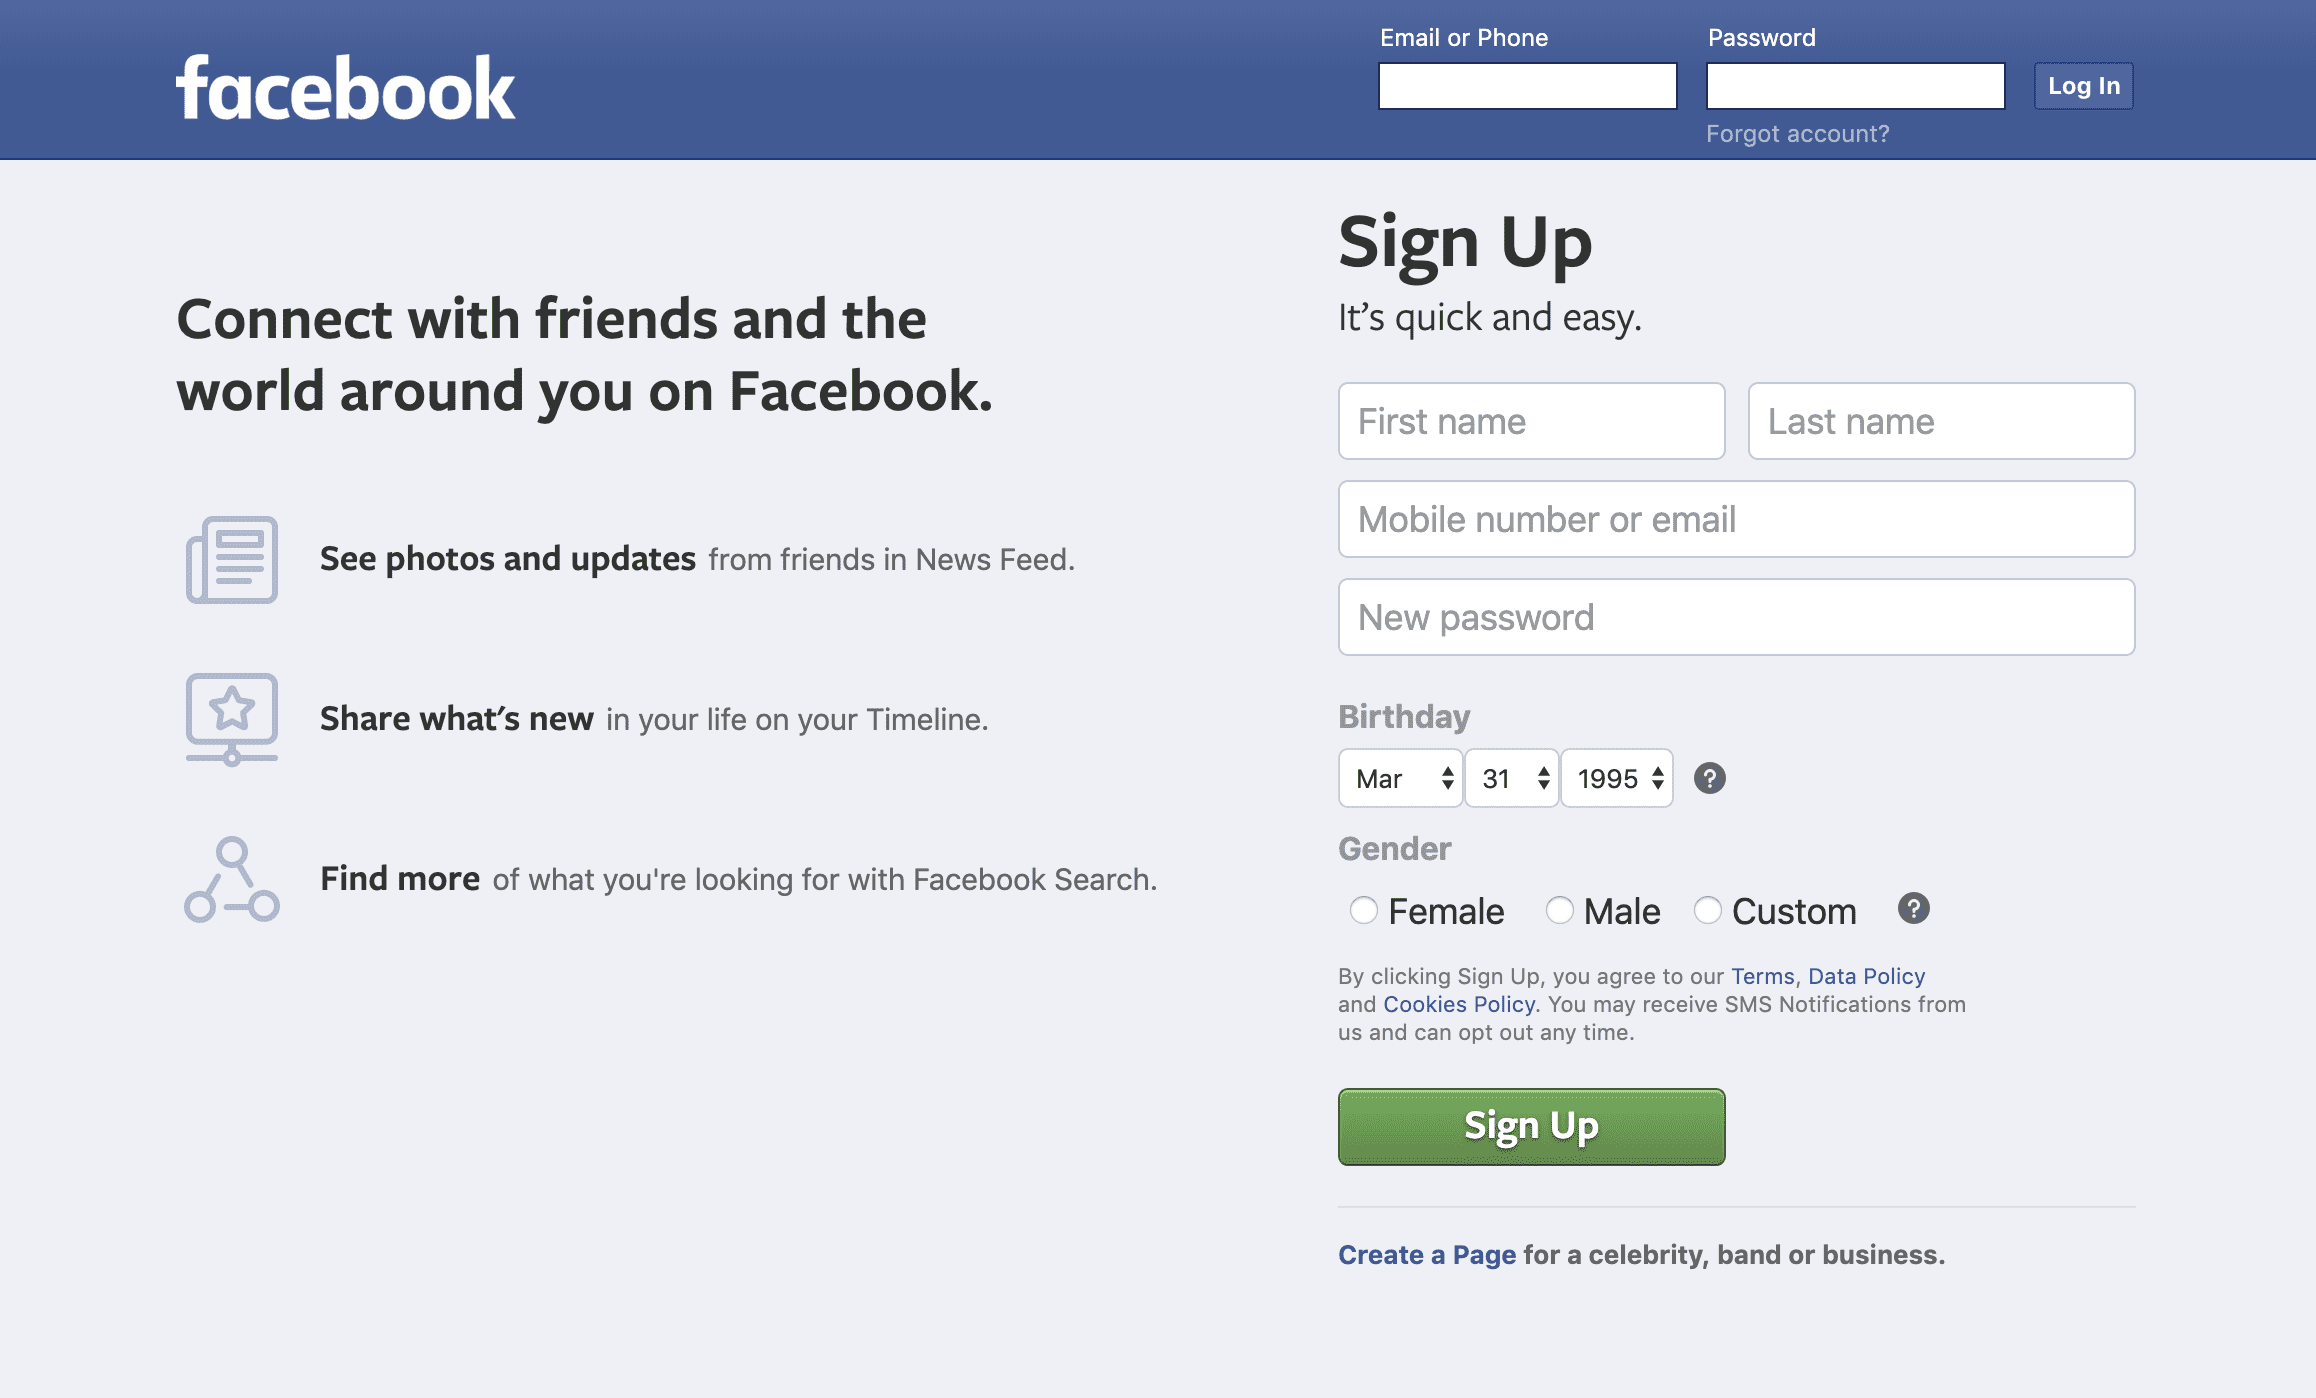
Before you can create your Facebook Real Estate business page, it’s important to note that you’ll need to have a Facebook account. If you don’t already have a Facebook account, now would be a good time to sign up.
Sign-Up For FacebookTo create your Facebook page for your Real Estate business, you’ll need to go to the link below. You can also go to the creation tab at the top of your Facebook page and select Page.
Create a Facebook Page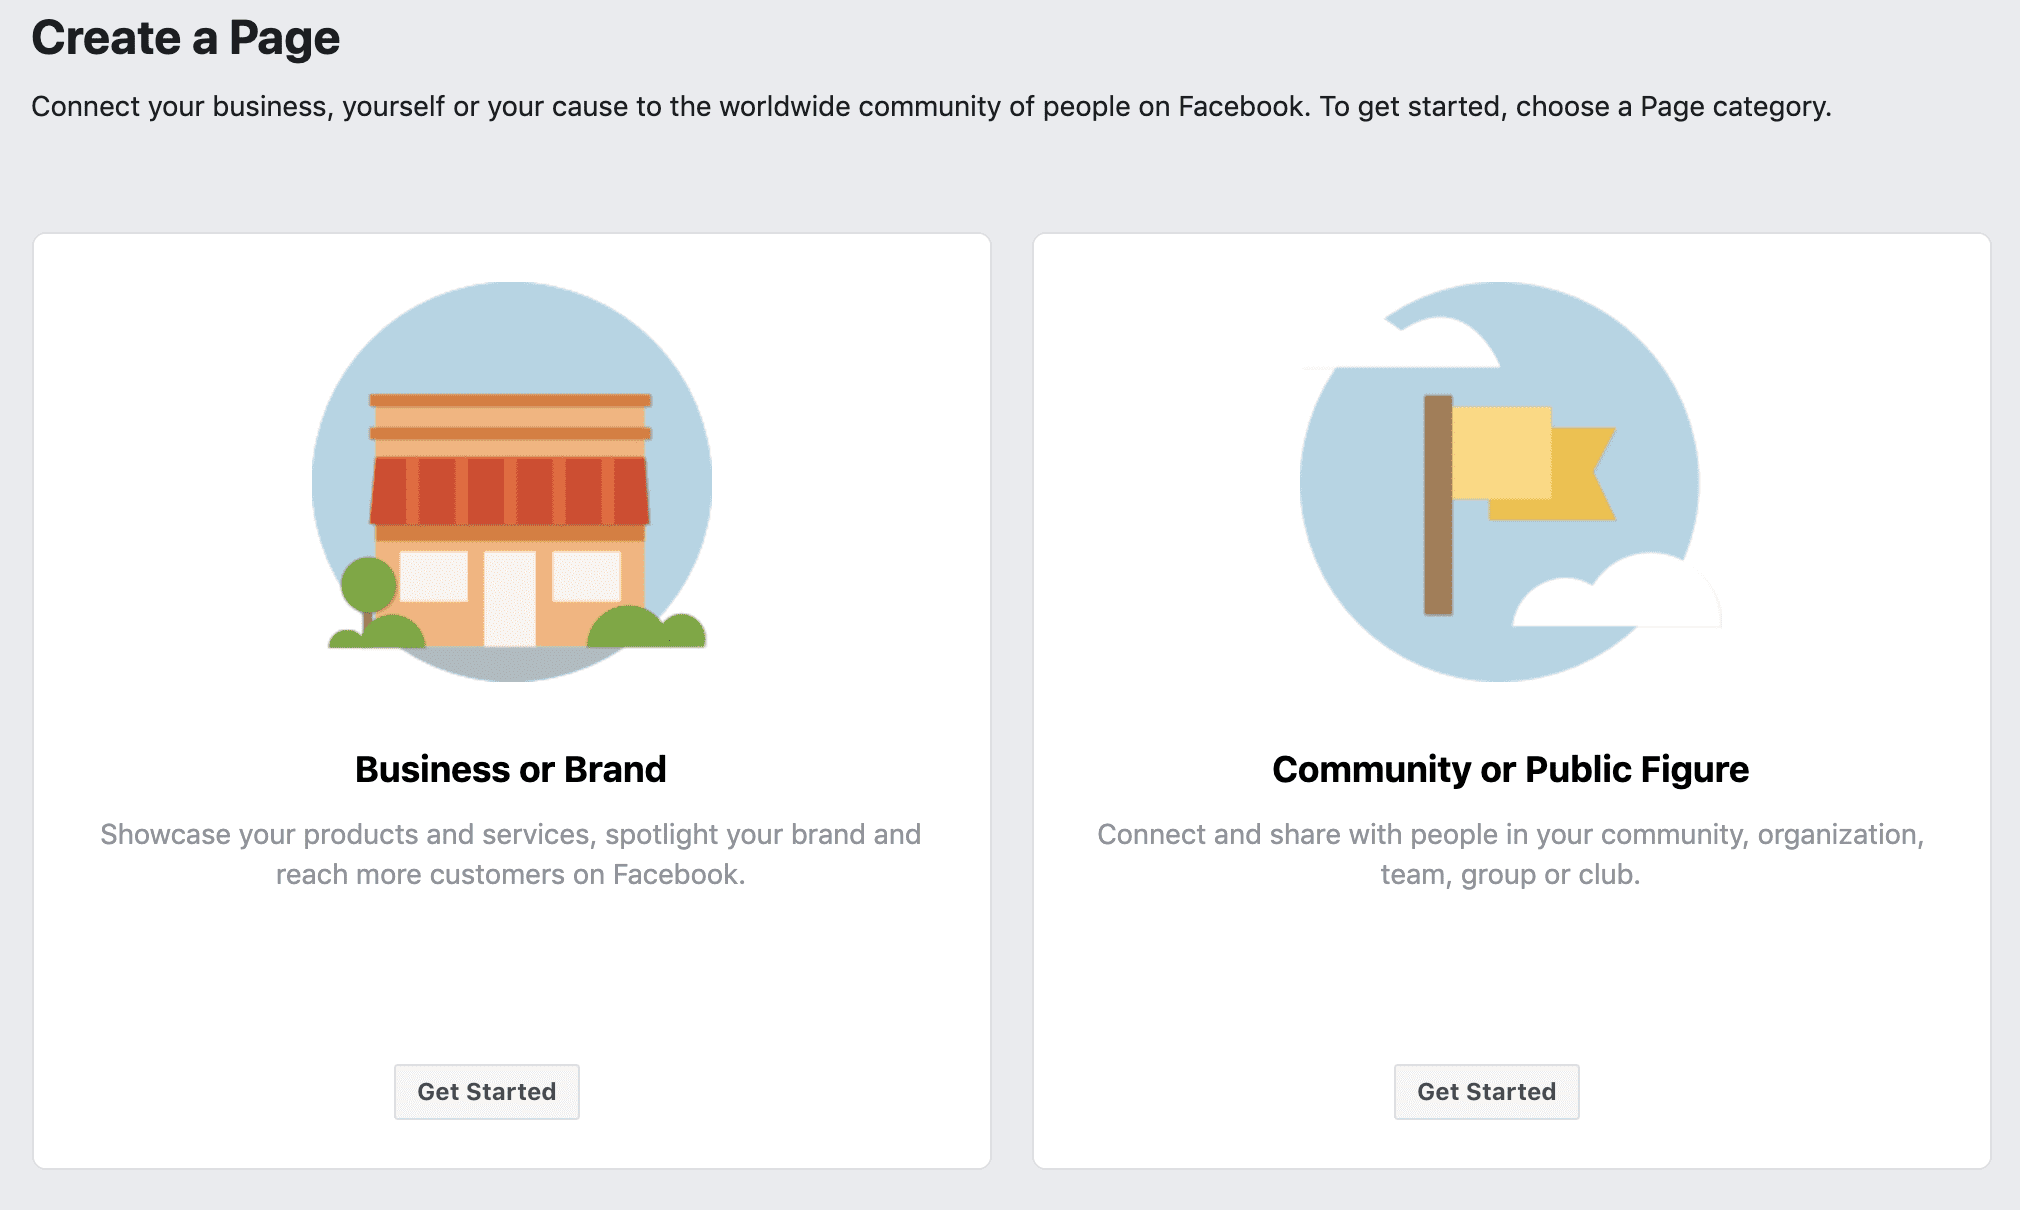
From there, you’ll find two options to choose from, “Business or Brand” and “Community or Public Figure”. Since we are creating a business page, you’ll want to select “Get Started” button under “Business or Brand”.
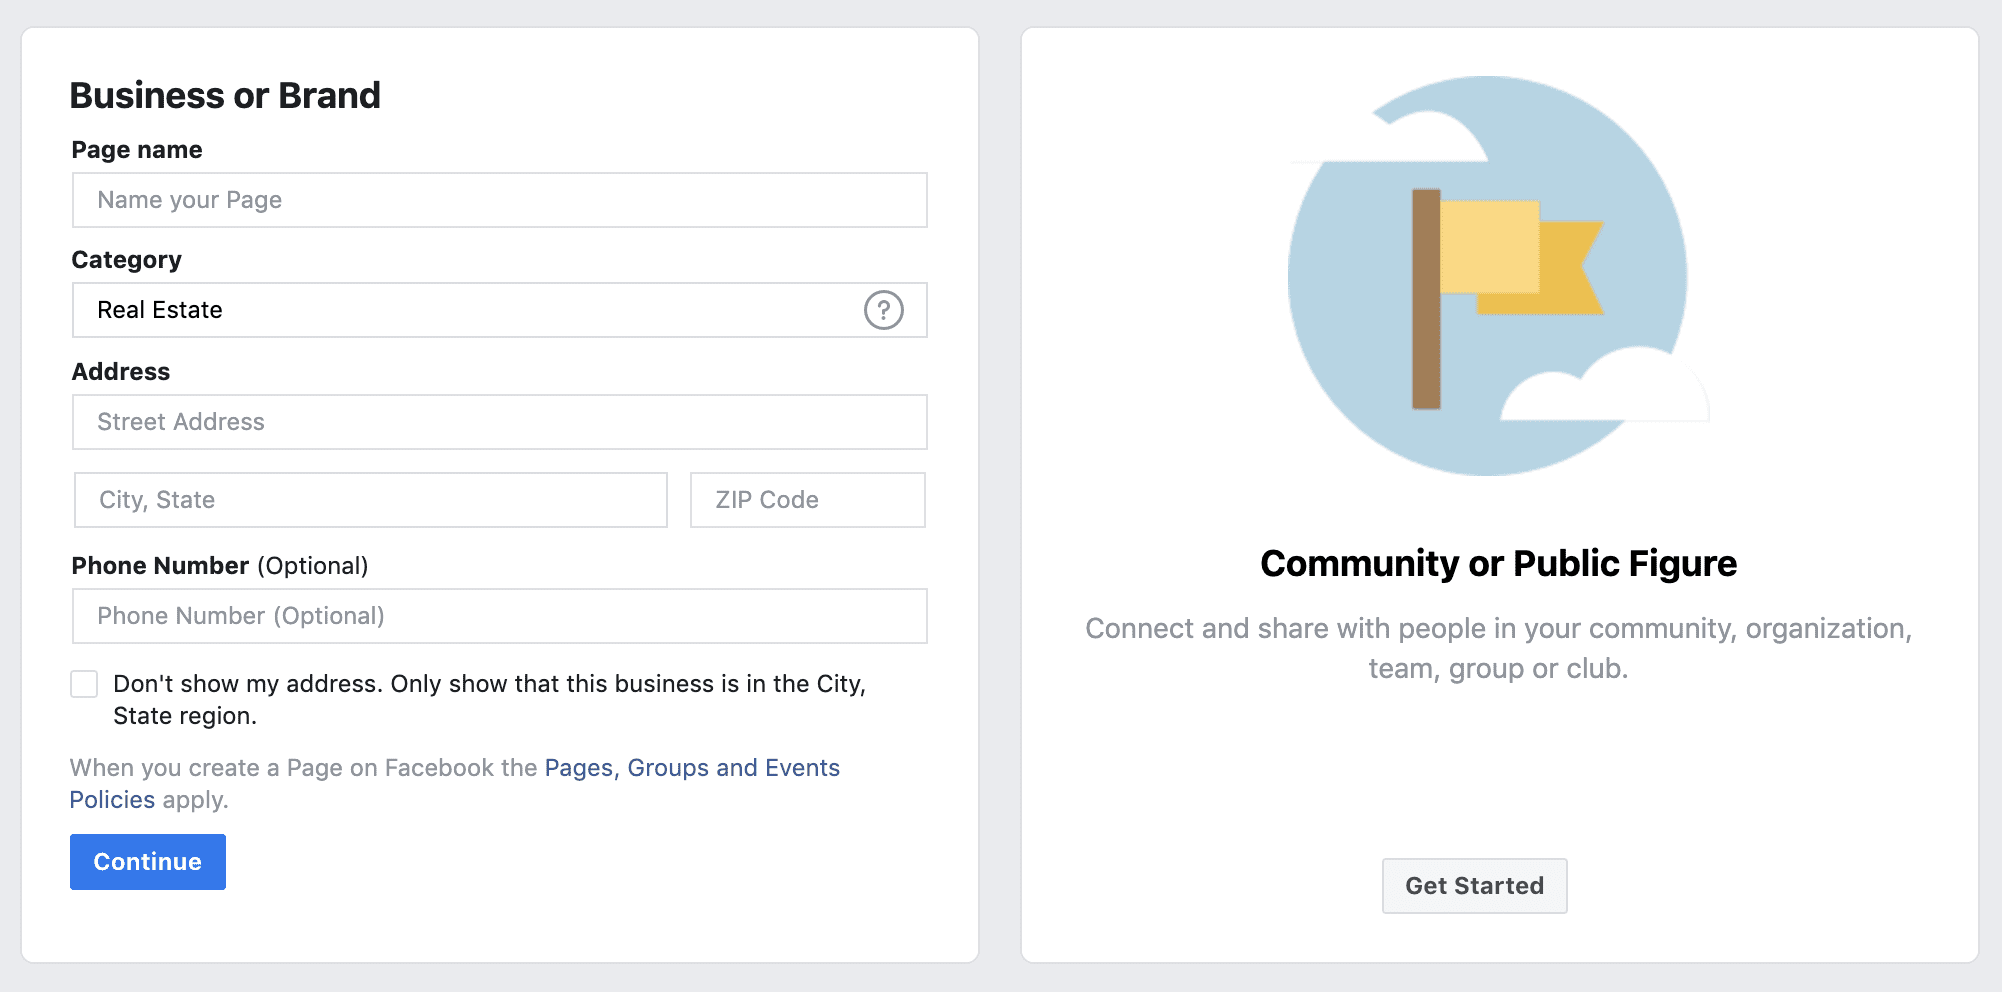
Next you’ll see an option for “Page name” and “Category”. Here you’ll want to put your name or team name. For category, you’ll notice options come up as you type. Assuming you are an active real estate agent, I would suggest choosing that option.
Now you’ll see an address form and phone number. You can select whether you want to display the address or not, and the phone number is optional. If you choose not to display the full address, it will only show “the City, State region”.
Step Two: Add Your Profile and Cover Photo
Now for second step in our Facebook page building journey, the profile and cover photo. Below are the recommended sizes, per Facebook’s Help Center.
Profile Photo
- 170×170 pixels on desktops and laptops.
- 128×128 pixels on smartphones
- 36×36 pixels on most feature phones
Cover Photo
- 820 x 312 pixels on desktops and laptops
- 640 x 360 pixels on smartphones
- Must be at least 400 x 150 pixels
- Loads fastest as an sRGB JPG file that’s 851 x 315 pixels and less than 100KB in size.
Note: If there’s text in your image and it’s showing blurry, you may want to try a PNG file instead.
Also, the profile image will be round and not square, so you’ll want to make sure the photo will work and nothing is going to be cut off when it’s trimmed.
Sprout Social has a page dedicated to social image guidelines that they keep up-to-date year round. You can find it here.
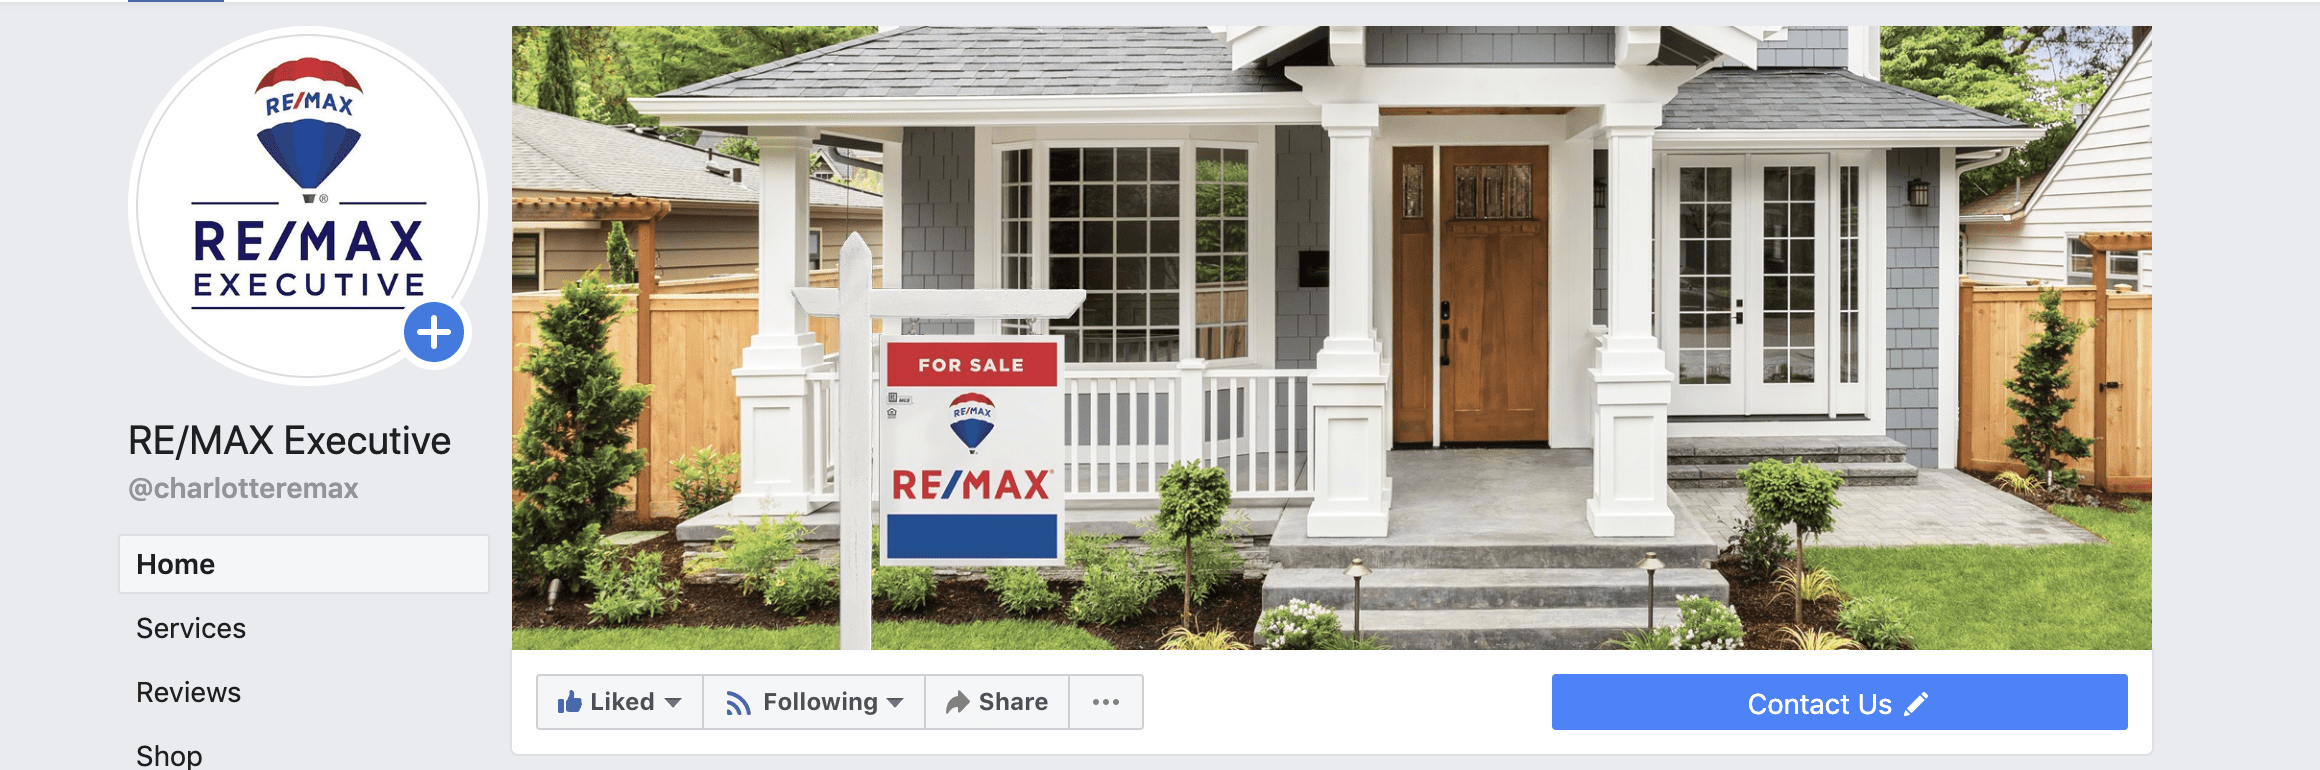
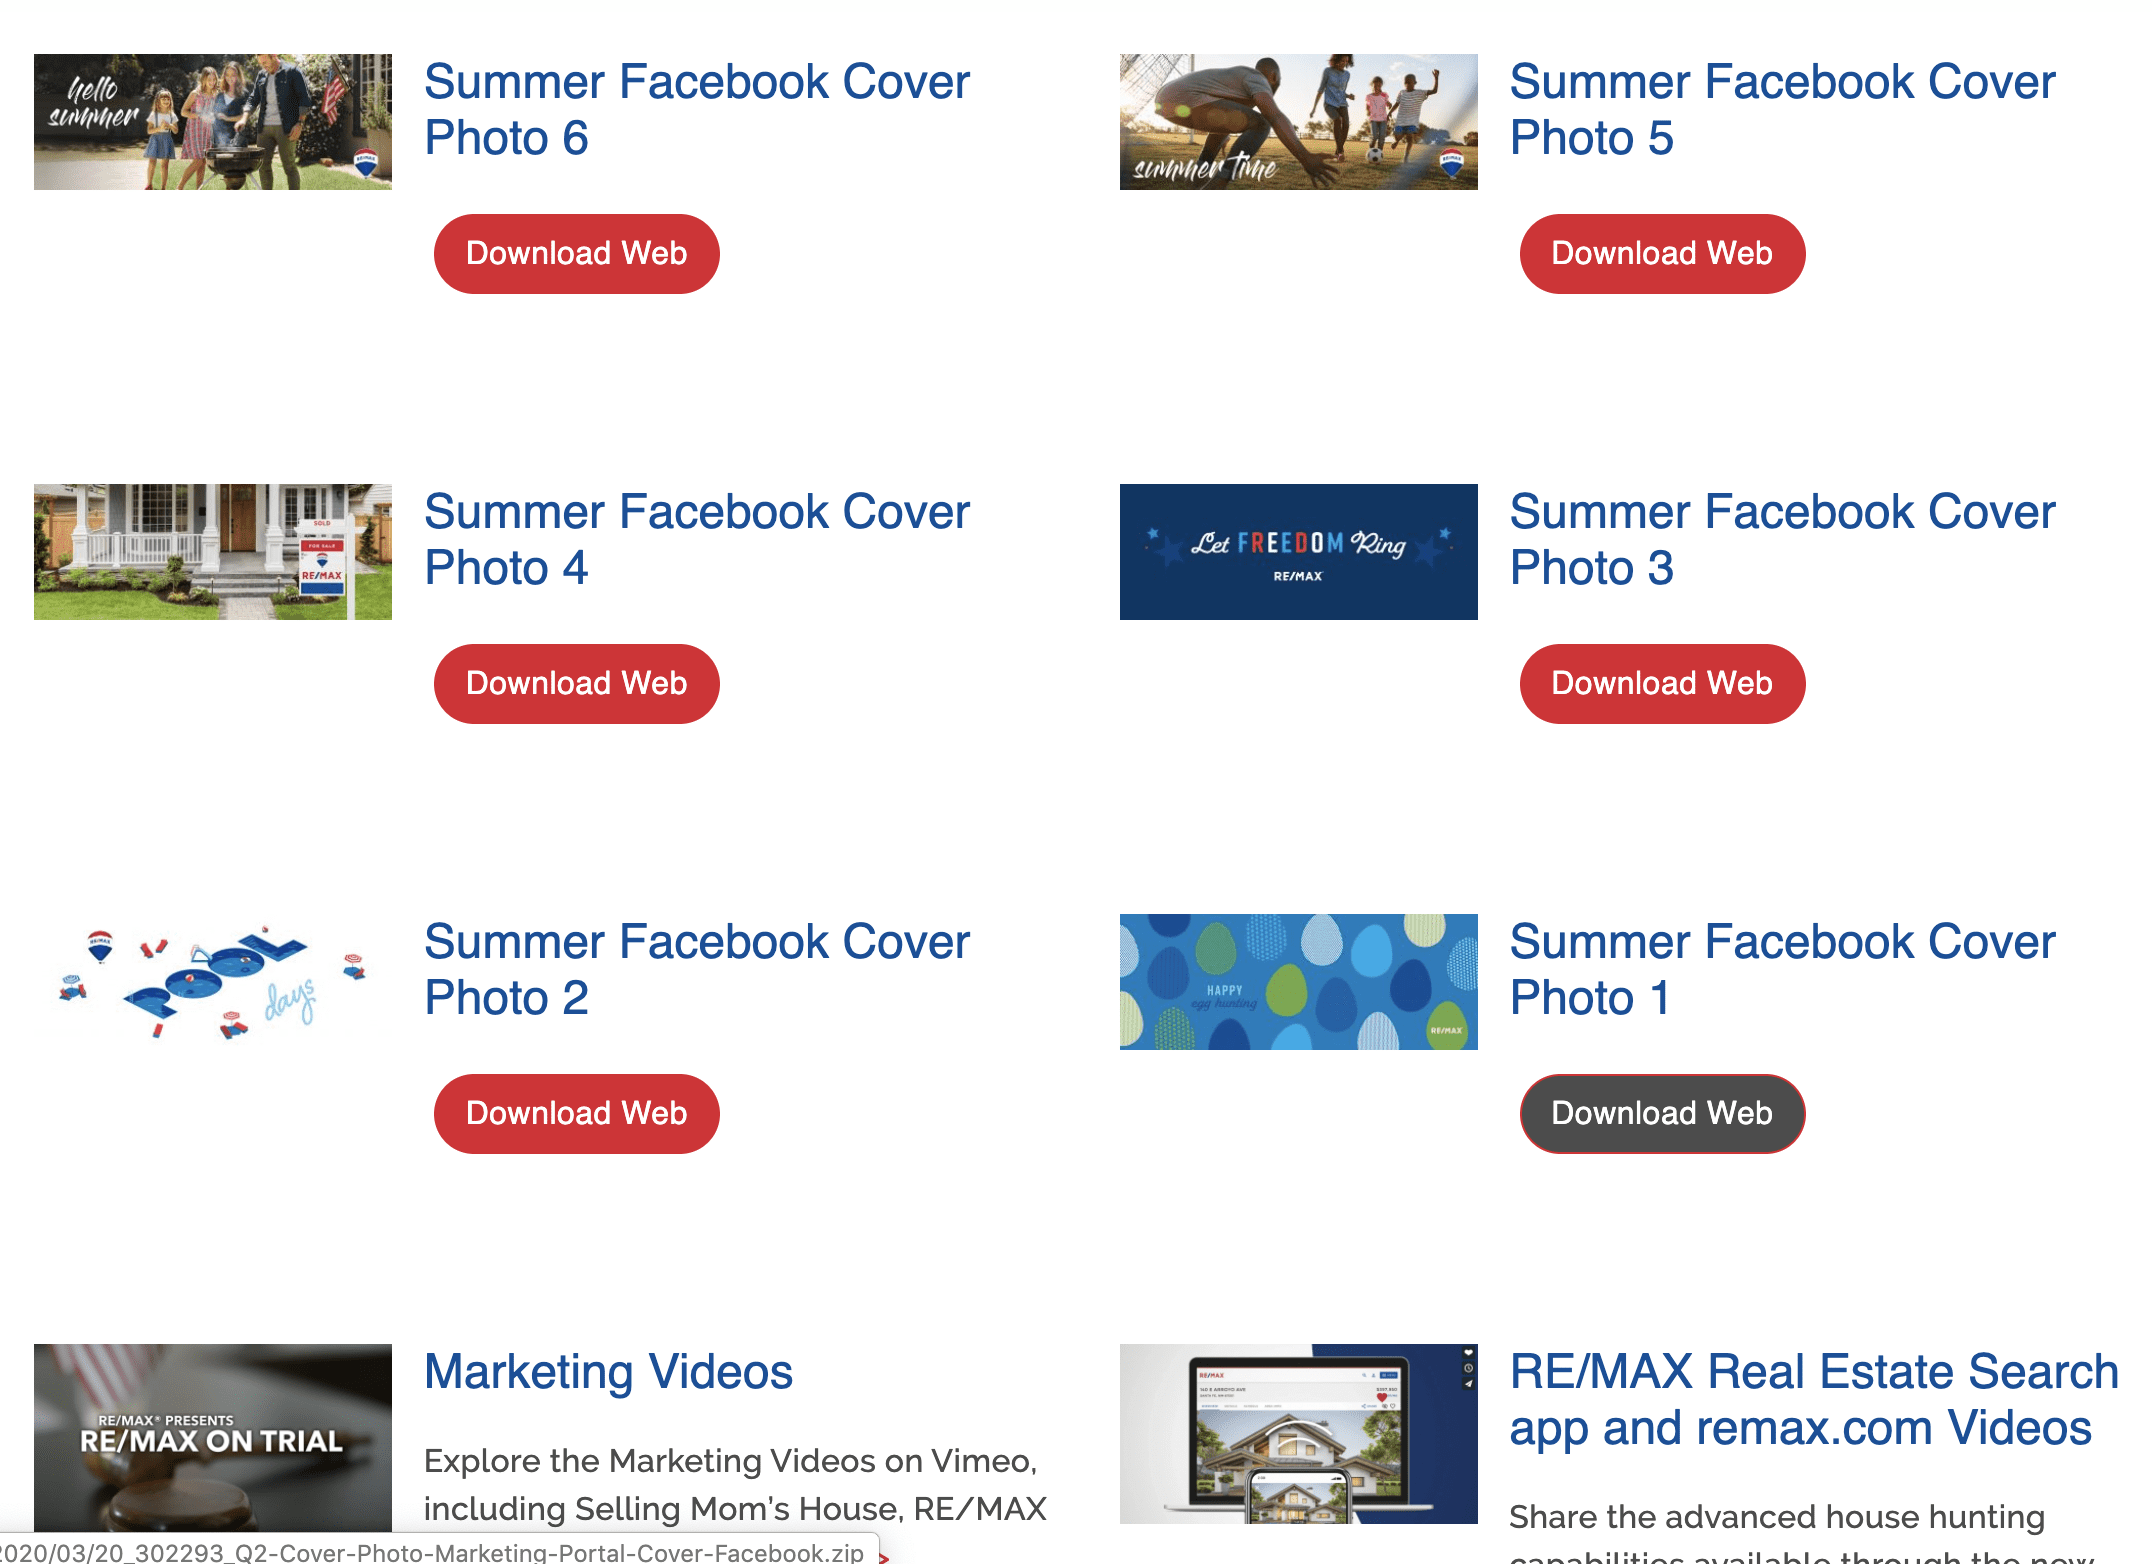
Resources for Real Estate Facebook Cover Photos

If you’re a RE/MAX agent, you’ll find some very useful marketing material in MAX/Center. This includes cover photos, but I really suggest checking out the rest of the material provided.
If you’re not with RE/MAX, there are A LOT of websites that provide social graphics. One of the more popular ones is Canva. You can find all sorts of templates on there, including Facebook Covers.
Step 3: Fill Out Your Information
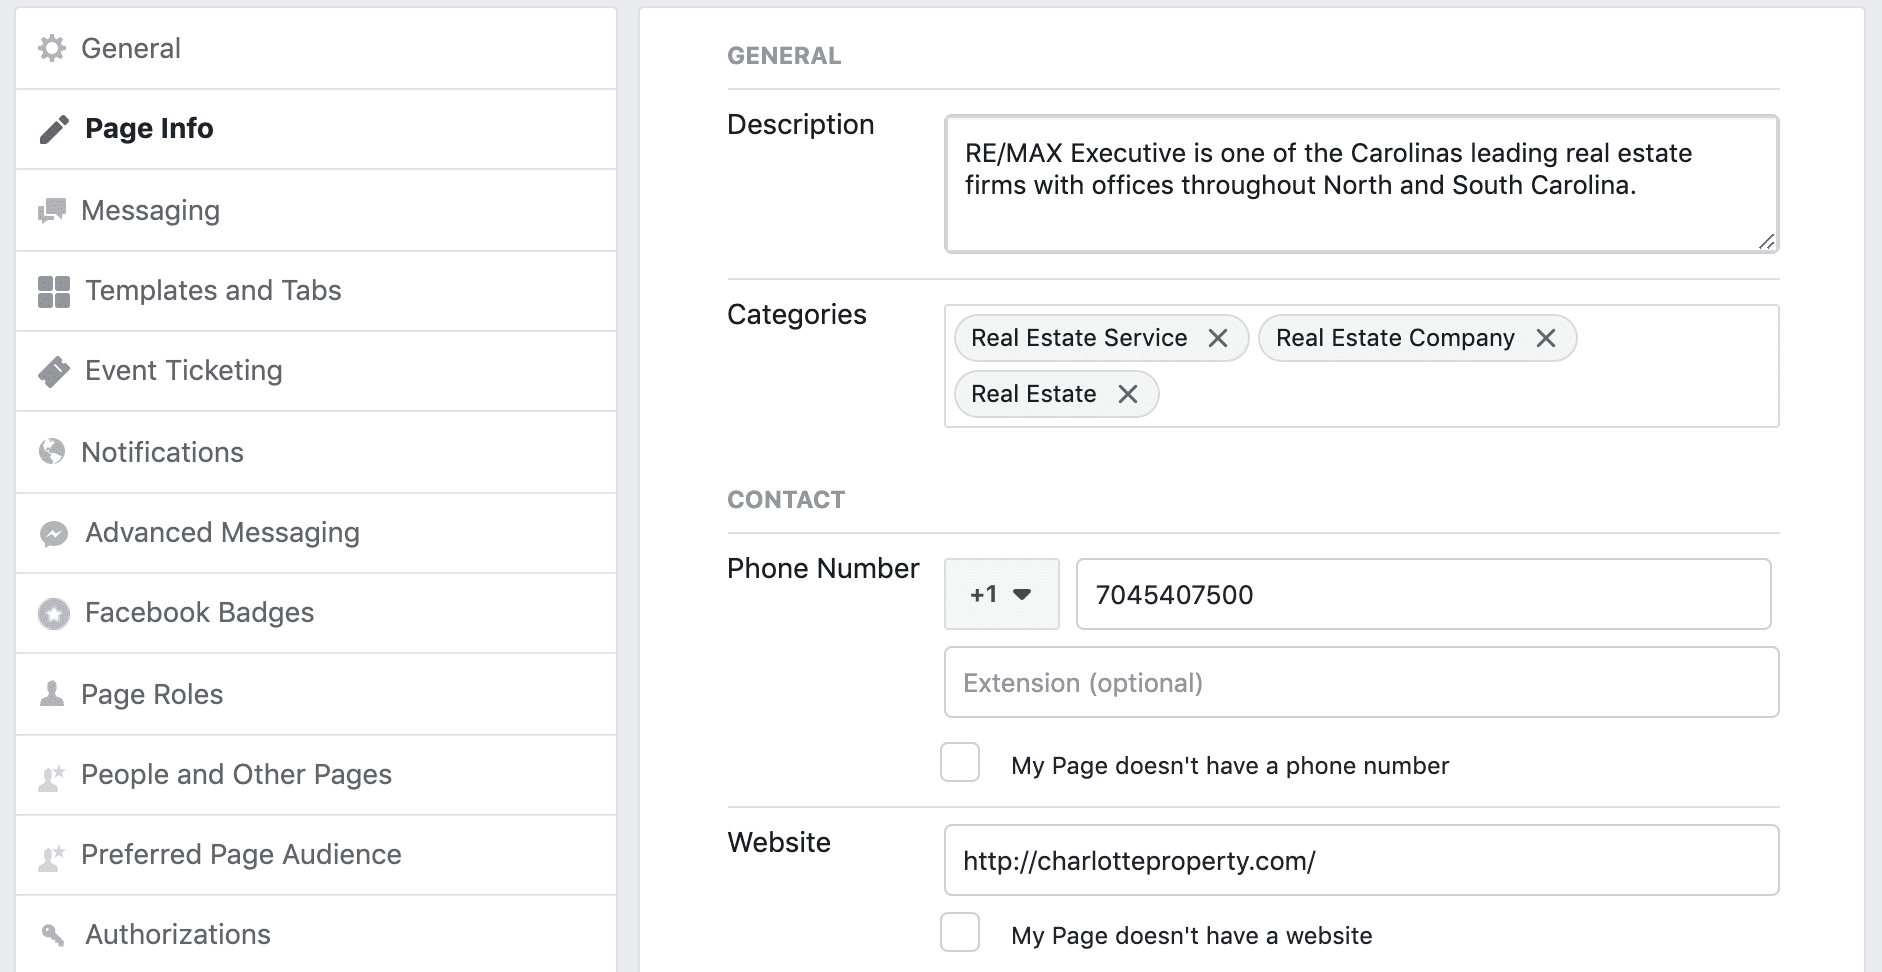
Now it’s time to get all the details filled out to complete your Facebook Business Page for your Real Estate Business. You’ll need to provide as much information as possible in order to get the most benefit. Below are some basics under Page Info:
- Description
- Categories
- Contact Information
- Location (You can choose to remove or hide the address)
Create a Username
You can also create a username that will make it easier for people to find you and easier to share links to your page. It’s a good idea to use your name or team name here since that’s what you’re promoting. So if your name is Jane Doe, you can use @janedoe as your username and your URL will be facebook.com/janedoe. What if someone has already taken that username? Well, this can happen. There may be another person out there with the same name that has taken the username you are trying to use, or you may be using the same username for your personal Facebook profile page. If that’s the case, Facebook won’t allow you to use it again, so you will have to get a little creative. Since you’re a real estate agent, you can try something like @janedoerealestate, or @janedoerealtor. Remember to try and keep it simple.
Create a Button
The button is a Call-To-Action (CTA) that sits at the top of your Facebook page, right below your cover photo. The options given are as follows:
- Book with you
- Contact you
- Learn more about your business (link)
- Shop with you
- Download your app or play you game
For real estate, you’re probably going to select either contact or link to your website. You will have multiple option under contact. Choose the option that best works for you and your business.

Step 4: Customize Template and Tabs
Facebook allows you to customize your page by choosing pre-made Templates as well as adding, removing, and rearranging the Tabs on your page.
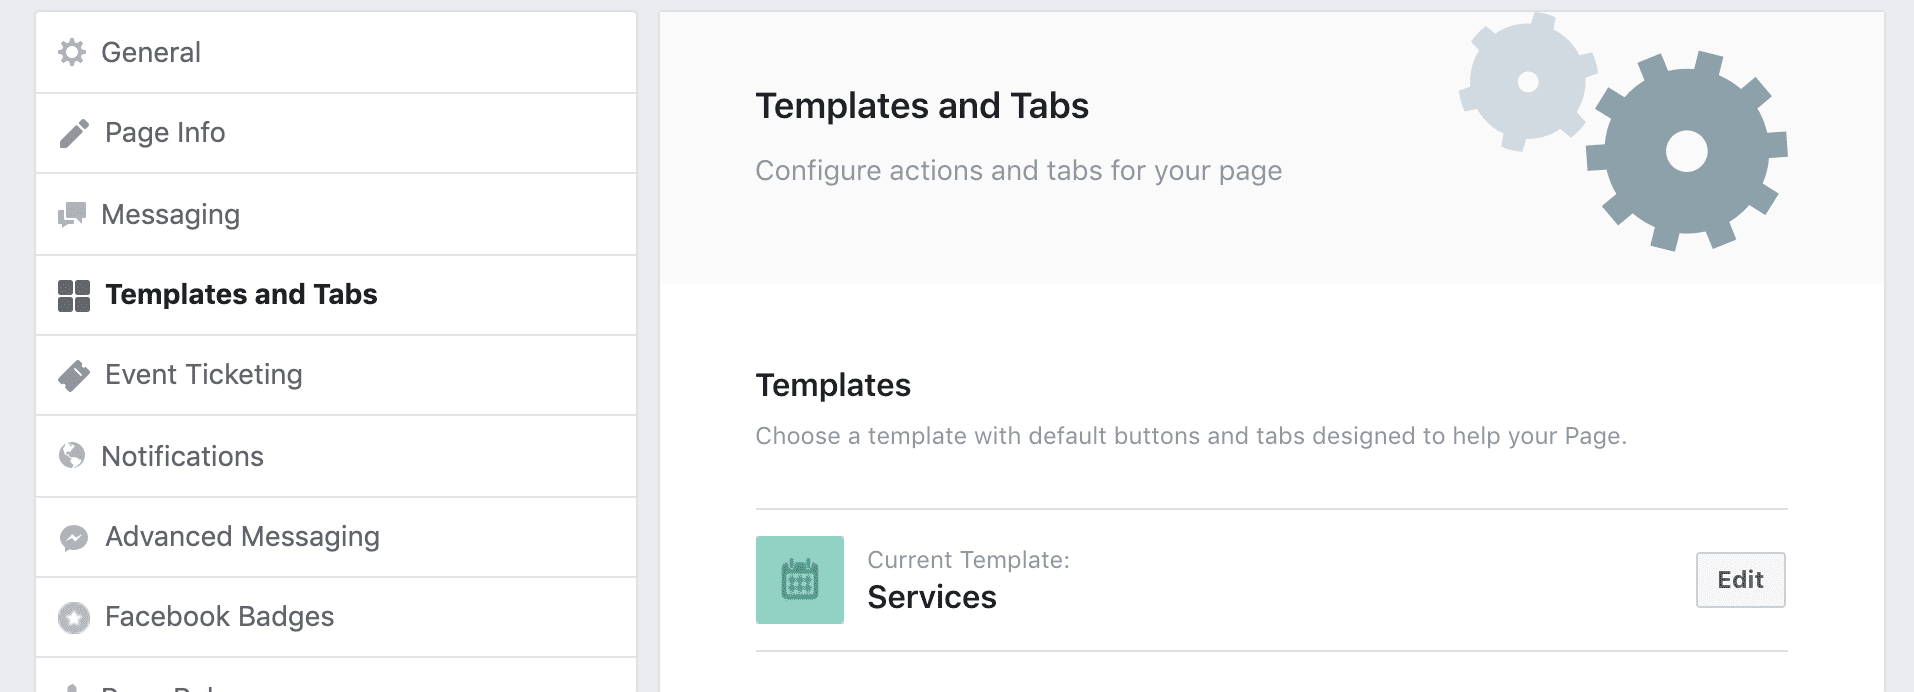
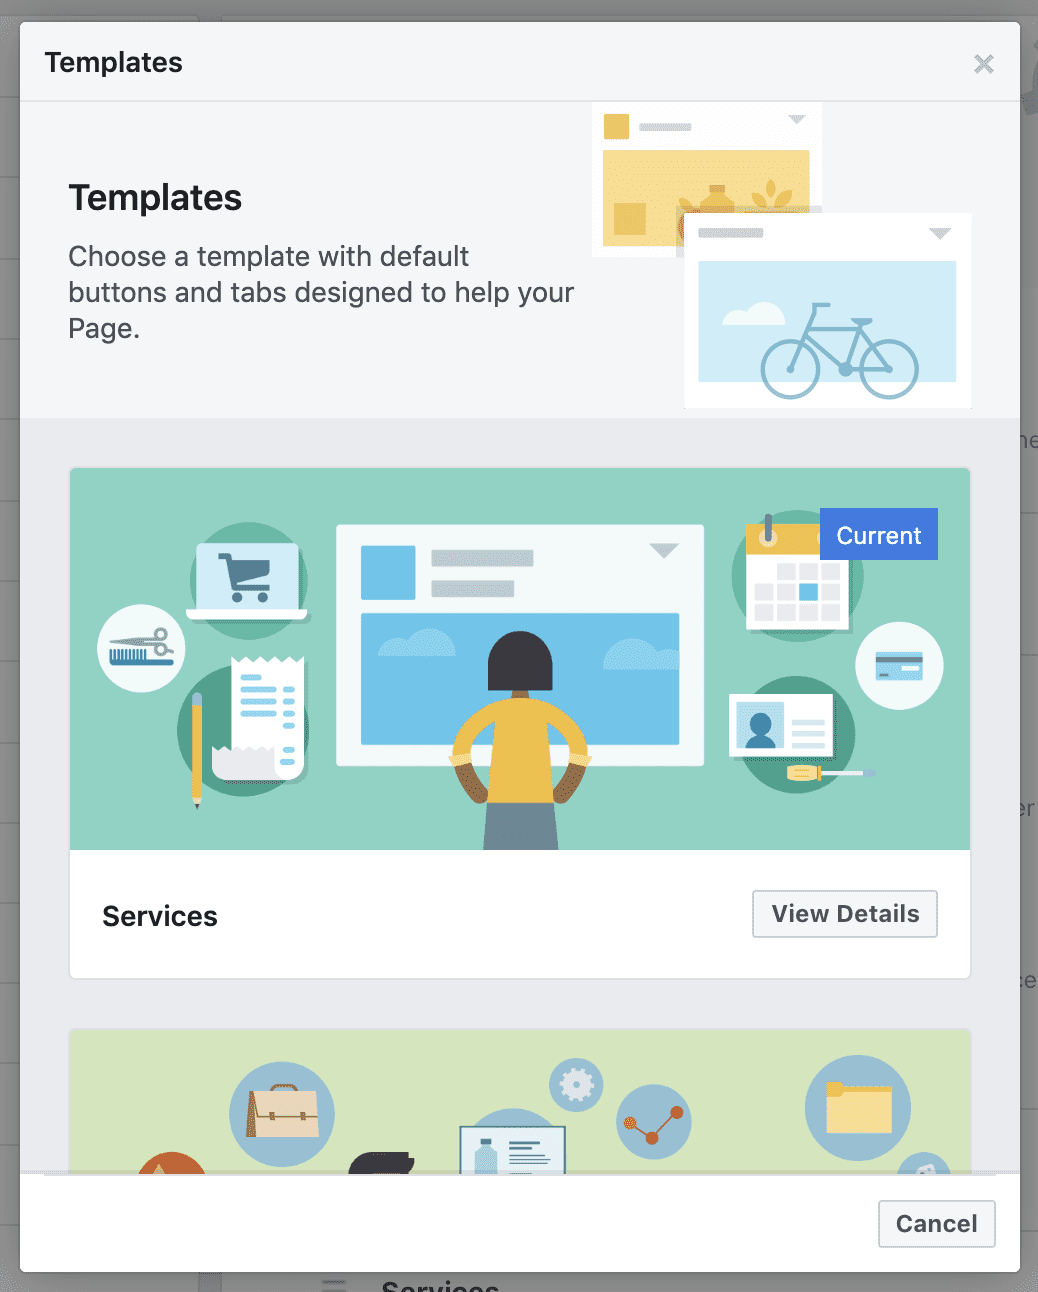
Templates
Facebook offers a variety of pre-made template you can choose from. You can preview the template by clicking the details button. Here are your choices:
- Services
- Business
- Venues
- Nonprofit
- Politicians
- Restaurants & Cafes
- Shopping
- Video Page
- Standard
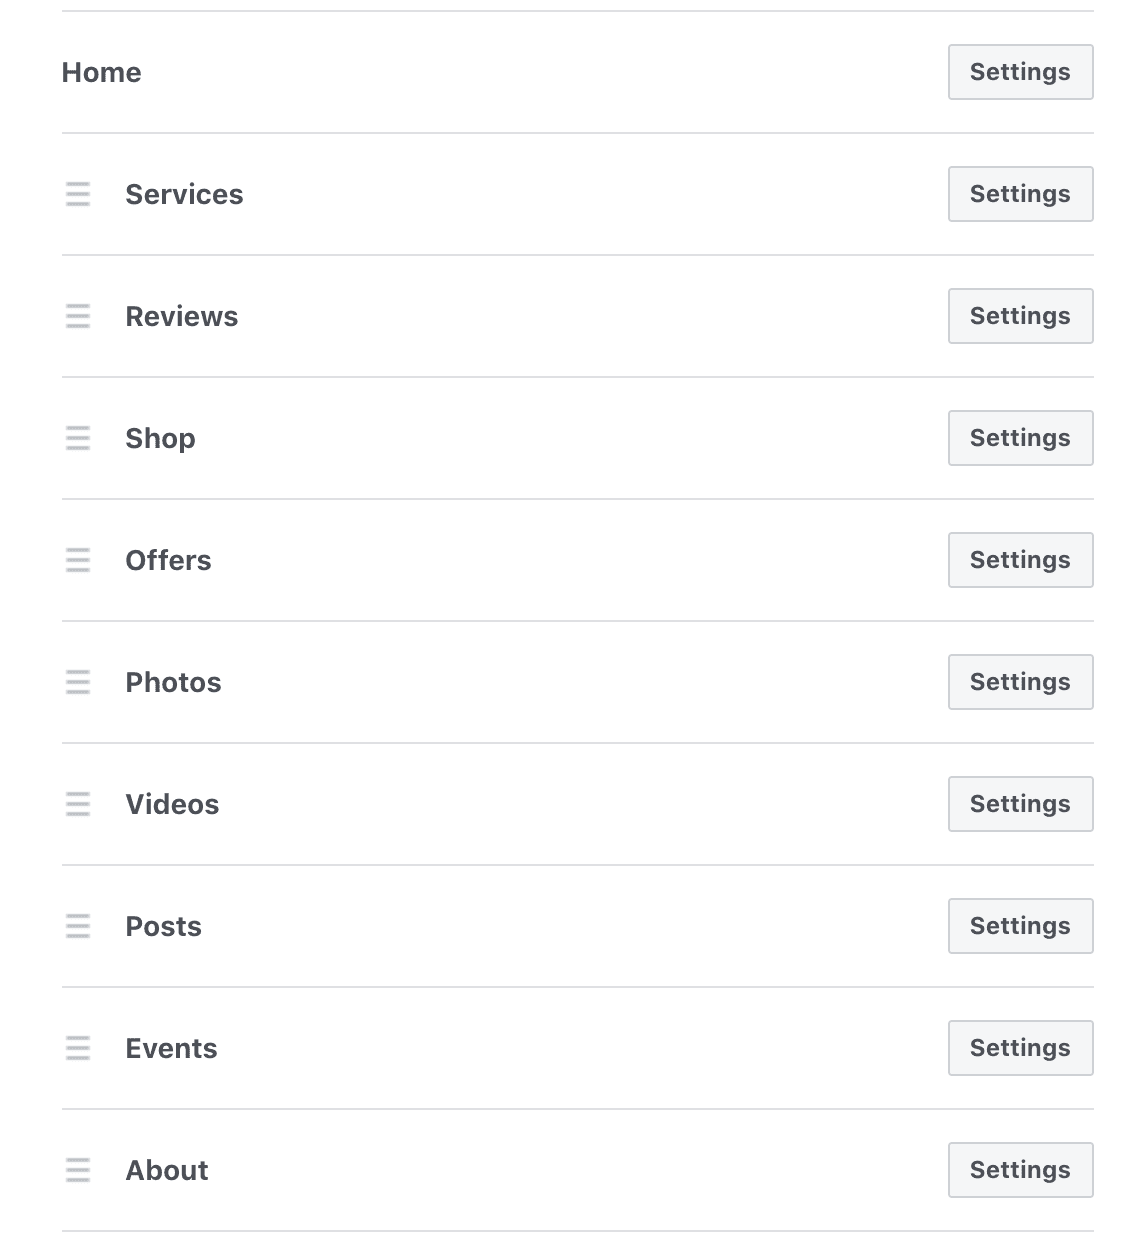
Tabs
You can edit your Facebook tabs by how they are arranged, removing unwanted tabs, or adding additional tabs. Below is a list of available Facebook tabs and descriptions.
- About – Lists information about your Page
- Community – Lists your friends that have liked your Page
- Events – Lists your upcoming events
- Groups – Lists the groups that you’ve linked to this Page
- Info and Ads – Shows ads that you’re running via the Page
- Live Videos – Shows live videos about your page
- Notes – Gives you a space to highlight notes on your Page
- Offers – Lists current offers for your business
- Photos – Shows photos posted on your Page
- Posts – Shows your Page posts
- Reviews – Shows reviews on your Page and allows people to write reviews
- Services – Gives you a space to highlight the services you offer
- Shop – Shows the products you want to feature
- Videos – Shows videos posted on your Page
Step 5: Inviting Friends
It’s time to start building your audience, and the easiest way to do this is to connect with the friends you’ve already made on Facebook through your personal Facebook account. If you’ve been an active Facebook user for a long time, you’ve probably accumulated a decent sized “Friends List”. From old friend to past clients, these are all connections you can invite to “Like” your new Facebook Page. Don’t be discouraged if you don’t get a huge following right away. Invite them once, and then revisit your list after some time has passed and invite again. Whatever you do, don’t annoy your friends and family with constant requests. They’ll end up ignoring you all together, and that’s the opposite of what we are trying to do.

Step 6: Creating Your First Post
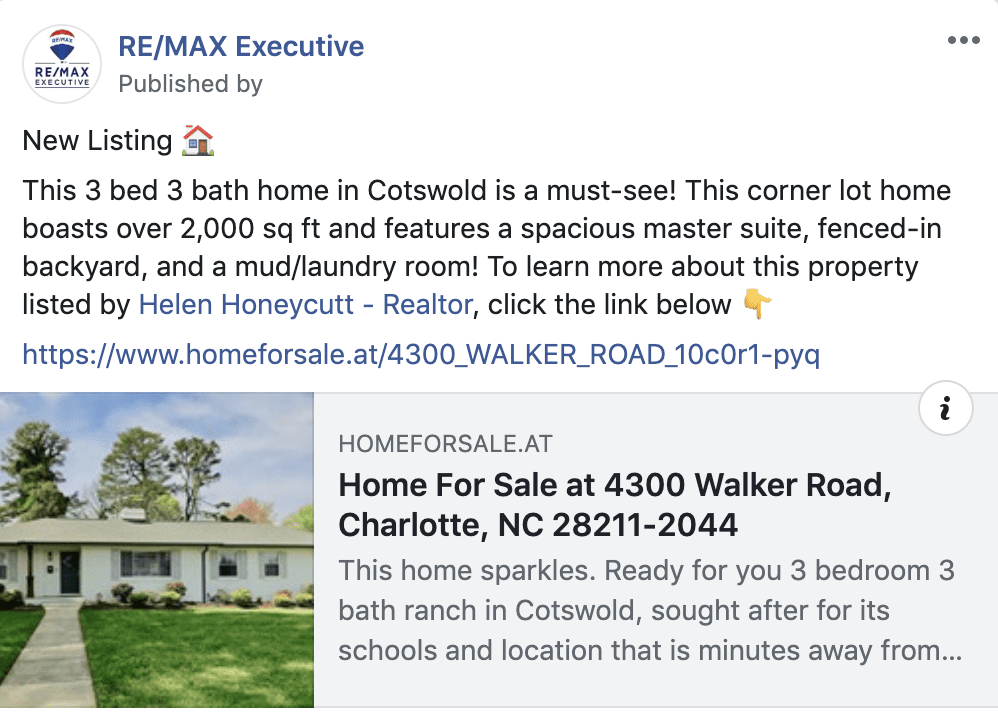
This is going to be the last step we go over here, and it’s a very important one. In order to really launch your new Facebook Page, you need to produce some content for people to see. Your first post can be anything, from a quick “Welcome to my new Facebook Page!”, to a video welcoming everyone who stops by. Since we are going over how to build a Real Estate specific Facebook Page, you could post something related to the market, your business, or a new listing you just put on the market. If you have a website with a blog, you can post an article you’ve recently written and drive some traffic to your website. The possibilities are truly endless!
There’s So Much More!
While this may be the end of our Facebook journey today, there’s so much more to cover. We will go over all the other nitty-gritty details of promoting your page, creating events, boosting posts, and everything else Facebook has to offer. For now, you have what you need to get your Facebook Page for your Real Estate Business up and going.